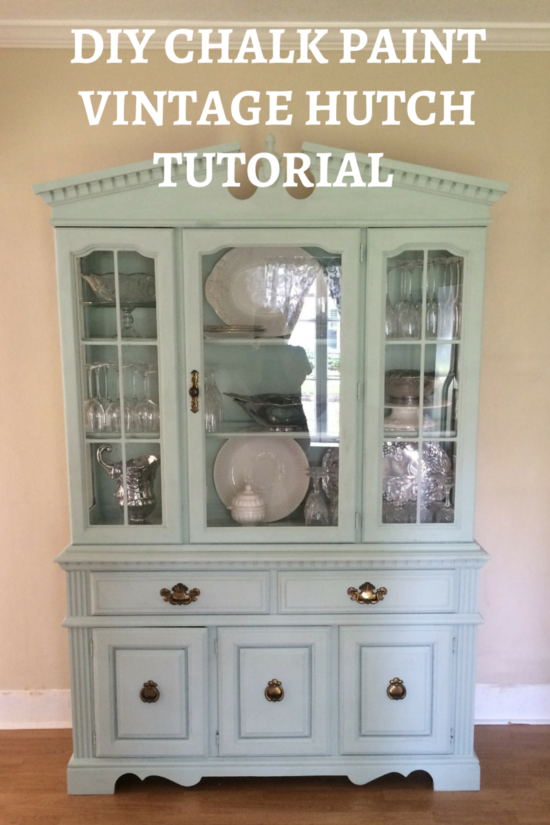
I’ve always dreamed of having a vintage hutch in our home, one that’s painted a blue hue and refinished. When we moved into our new house, we had a large wall in the kitchen that needed something of interest and I definitely wanted more storage space for all of our serving platters and glassware. A good friend of mine, Ryan owner of Pop.Sparkle.Shine a local Orlando based consulting business for “all things lovely”. Ryan is a DIY buff and has an eye for style, home and fashion. Love that chick.
Well we went out bargain hunting together and she took me to some great local places in Orlando. We didn’t end up finding what I was looking for– I wanted something with details and it needed to have glass enclosures since we have sweet little Pearl and I didn’t want to risk her jumping up and knocking anything off or fur getting into our dishes. I know, #petownerproblems.
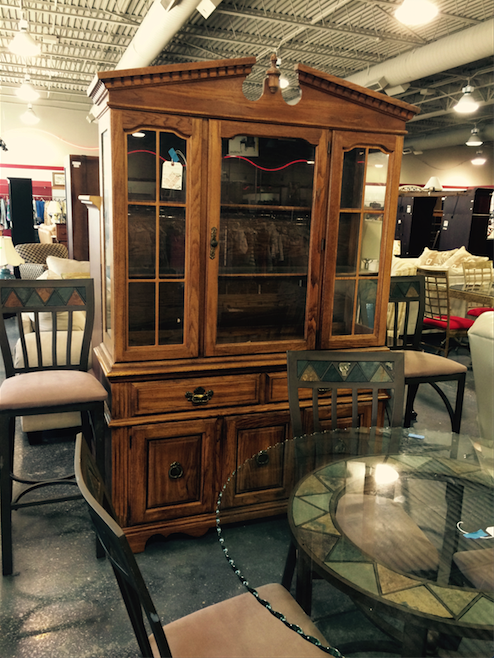
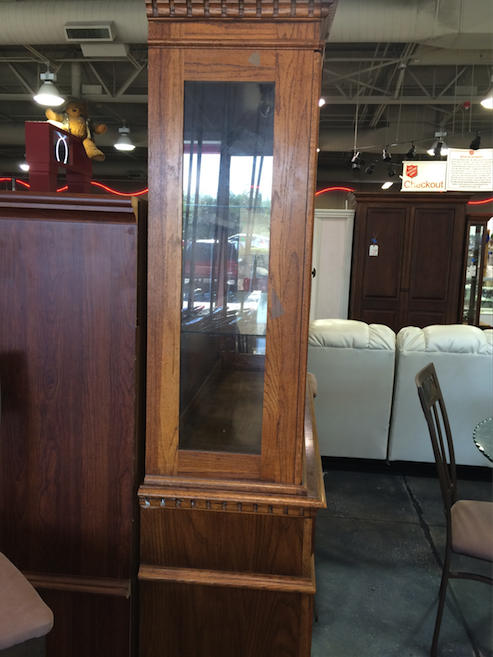
But Ryan did not stop her search for my piece, she popped into the Salvation Army just down the road from my house later that afternoon and found this gem!! We paid $112 for it (on sale).
With the insane cost of the “sample size” chalk paint and the LIMITED chalk paint colors that they sell at the paint store, a guy at Home Depot suggested we make our own. Ryan had also mentioned how easy it was to find a recipe for DIY chalk paint. So I googled how to make DIY chalk paint and there was a great recipe on Lowe’s website.
NOTE: Please don’t confuse chalk paint with chalkboard paint!! This is not the same. When we asked for chalk paint a guy at the local paint store tried to sell us this stuff and he really acted like he knew what he was talking about. NOT the same thing.
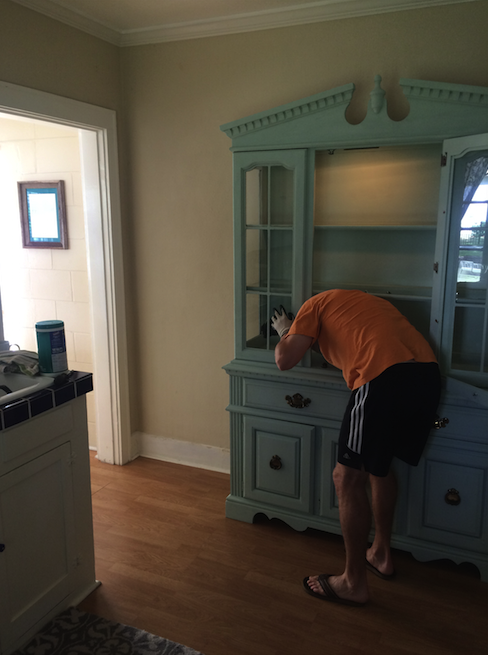
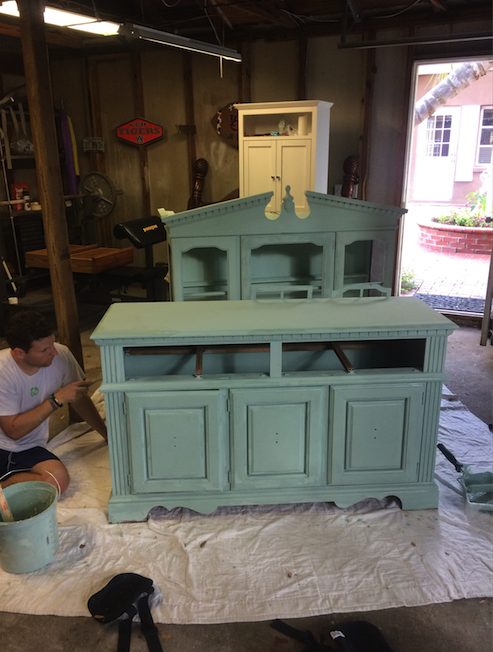
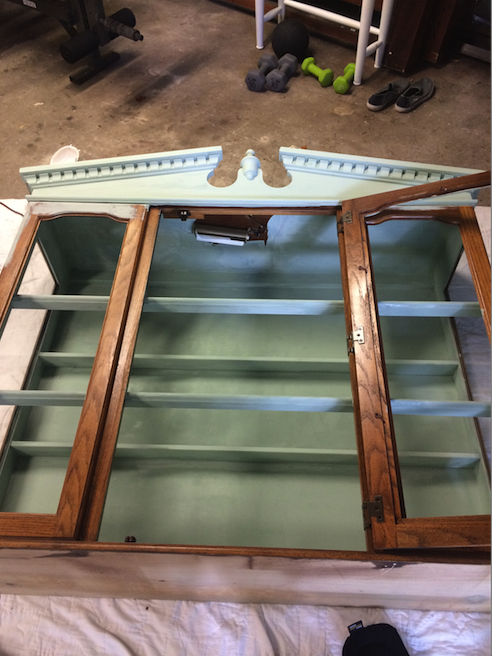
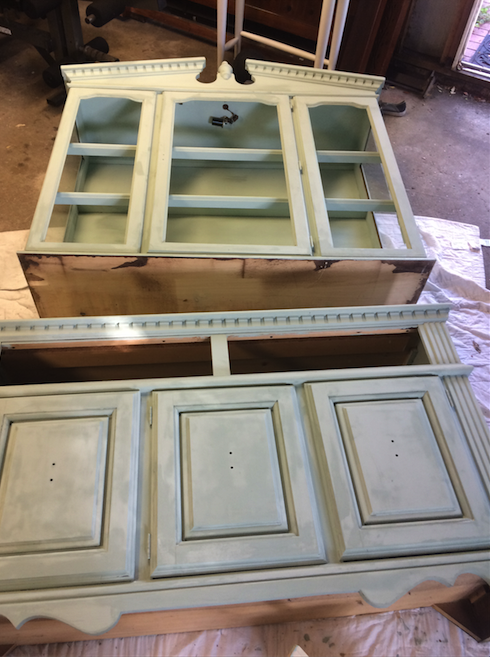
This is a fairly large piece and we ended up making two batches of chalk paint to finish this project. I definitely recommend making it in batches because the paint begins to thicken as it sits. We also had two people working on this piece pretty intently, so maybe make a half batch if you think you might not need as much paint with the amount of time you have to work on the project. It took us about 5-6 hours to paint it in full, with about 2 coats and touch ups.
What I love about making a homemade DIY chalk paint recipe??
- It’s easy!! 3 simple ingredients
- Super affordable– we spent $20 total on a full gallon and and have lots of paint and plaster of paris left over for another project.
- It dries super fast!!
- NO need to spend hours sanding!! Yes so true- when using chalk paint you don’t have to sand your surface first.
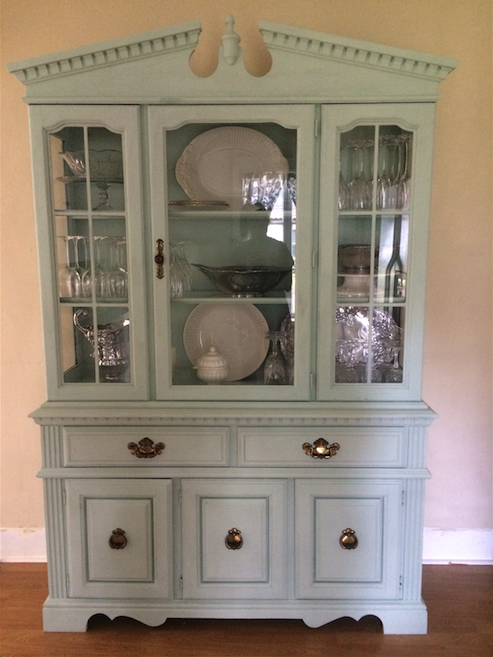
Supplies for Project:
1. A gallon of your favorite flat paint color (we used Behr Premium Plus in “Zen” for this hutch)
3. Mixing buckets- small with liquid measurements and large
4. Paint supplies– rollers, brushes, etc.
5. Old large sheet or quilt (for mat to prevent drips)
Print
DIY Chalk Paint Recipe
Ingredients
- 3 cups paint
- 1 cup Plaster of Paris
- 1 cup water
Instructions
- Mix plaster of paris and water together until combined, slowly stir in paint and mix until combined.
Have you ever made your own chalk paint?? If not, I hope this post inspires you to use it for your next project 🙂
Hi I’m Kristina LaRue, RD (registered dietitian nutritionist), Peloton addict and mama to two active and hungry boys. On Love & Zest, you’ll find healthy-ish recipes that fuel the whole family. I’m all about veggie-filled breakfast, meal prep recipes, healthier sweets, and easy weeknight dinners made in the Instant Pot or sheet pan.
Did you make one of my recipes?? Leave a review in the comments and tag @loveandzest #loveandzest on Instagram!
If you’re a modern mama– I’d love for you to join my Facebook group A Modern Motherhood Collective!



Is there a small recipe for smaller projects? I want to paint a small pot.
★★★★★
ahhh. I might try with doing 1/4 of the “recipe”.
Hi! I am definitely considering this method for a hutch. How is the texture, does it scratch or does paint come off at all?
Hey Elizabeth– if it’s a high traffic piece I’d recommend a protectant finish like polyacrylic especially if you’re doing it in a light color like white or you can use a polyurethane top coat. These will protect against stains, wear and paint chipping. You can also use a wax coat if it’s a lower traffic piece like our hutch– wish I would have done that to ours because there are a few stains that don’t wipe off, so I’ll have to do some minor touch ups in the future.
looks beautiful kriskros! had a blast painting it with you.
thanks babe. 🙂
AHH! You made that sound/look easy! We have a couple of projects & I did not want to spend the money for chalk paint!
We will definitely be trying this! & I LOVE the color you chose, too!
Beautiful!
I’d love to see how they turn out Keri!! Have fun!!